How to pour an exposed aggregate driveway
Step 1
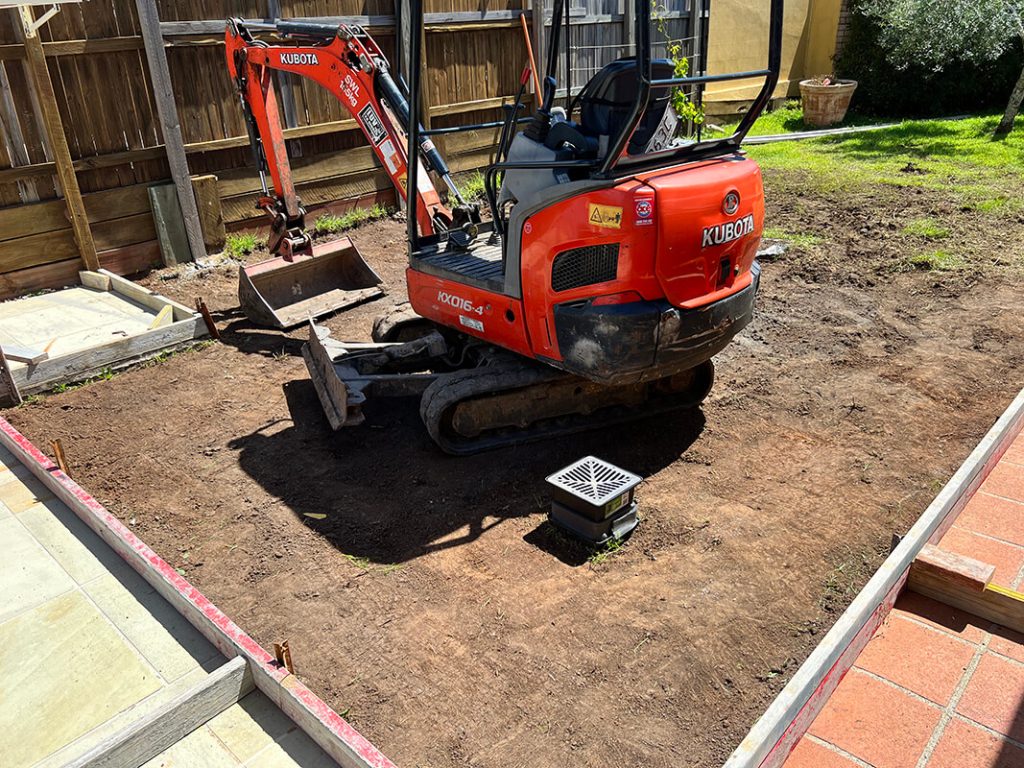
Firstly we will excavate any grass from the work area, if this is not done prior it runs the risk of vegetation rotting under the new concrete causing the concrete to drop.
Step 2
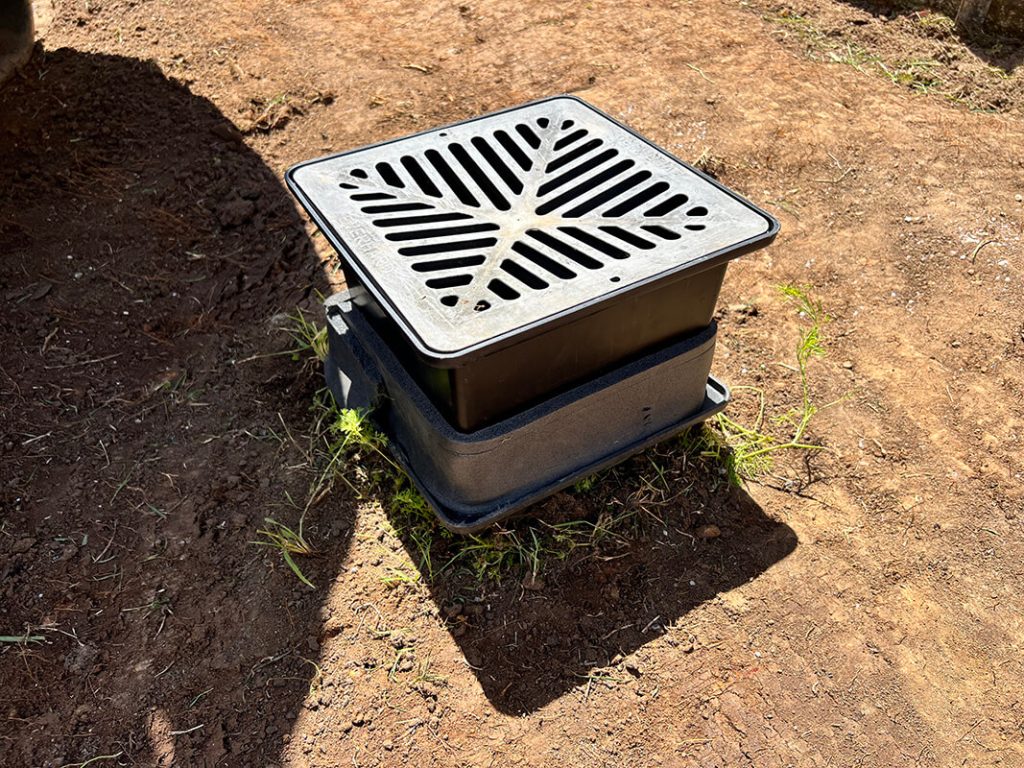
On this job the client wanted the new concrete pad to be raised, a drain was raised to allow for this in this case.
Step 3
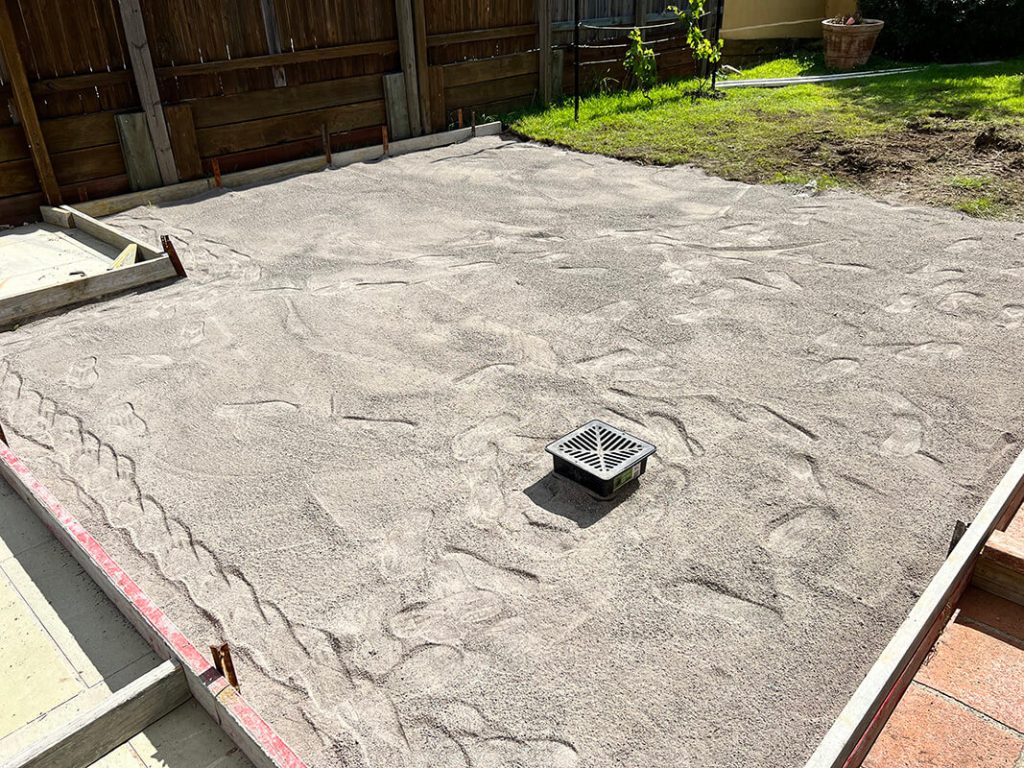
Crusher dust was then used to fill the area, this is a far cheaper option than simply filling it with concrete, the formwork was also put in place.
Step 4
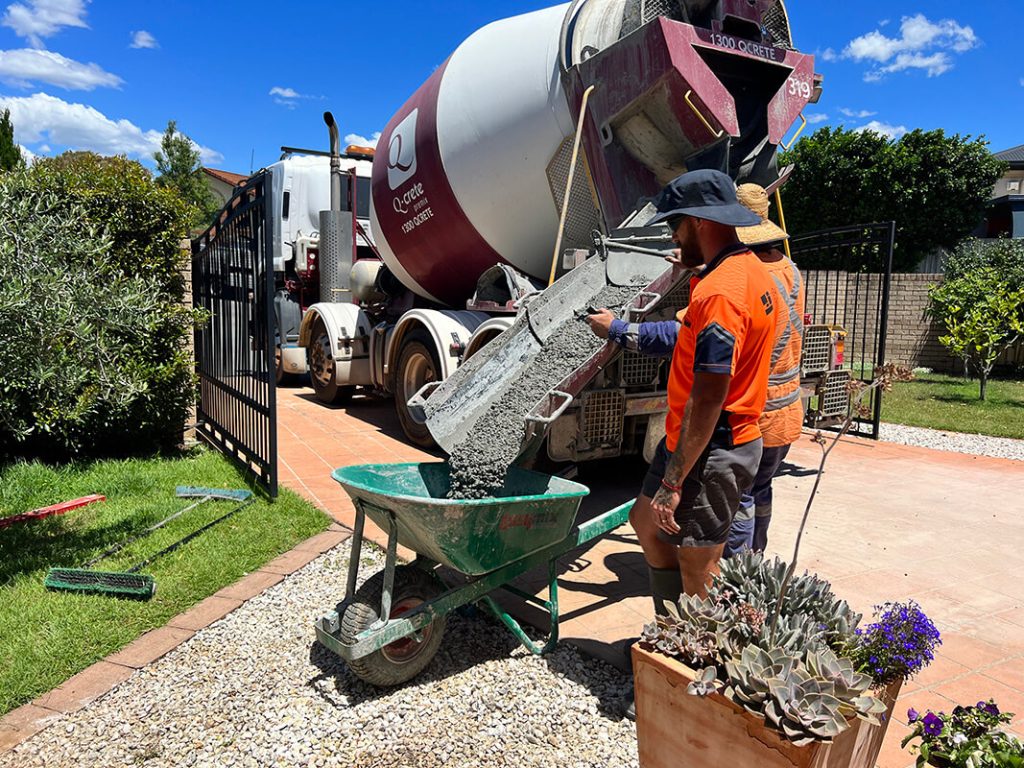
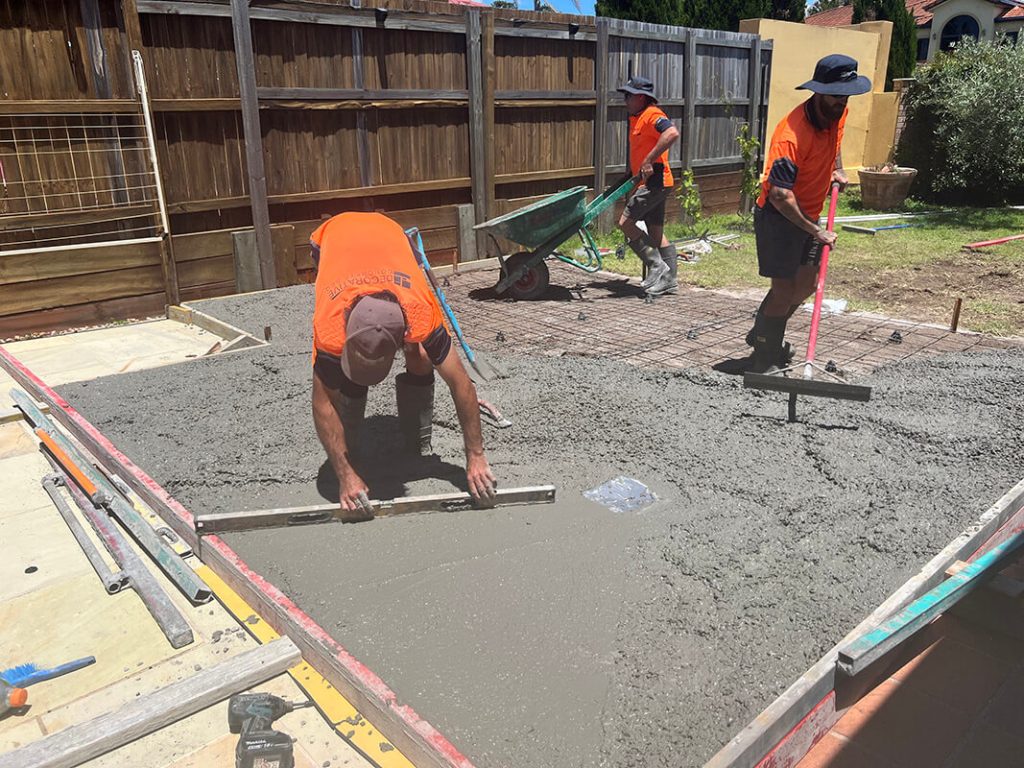
Concrete was then wheelbarrowed to the area.
Step 5
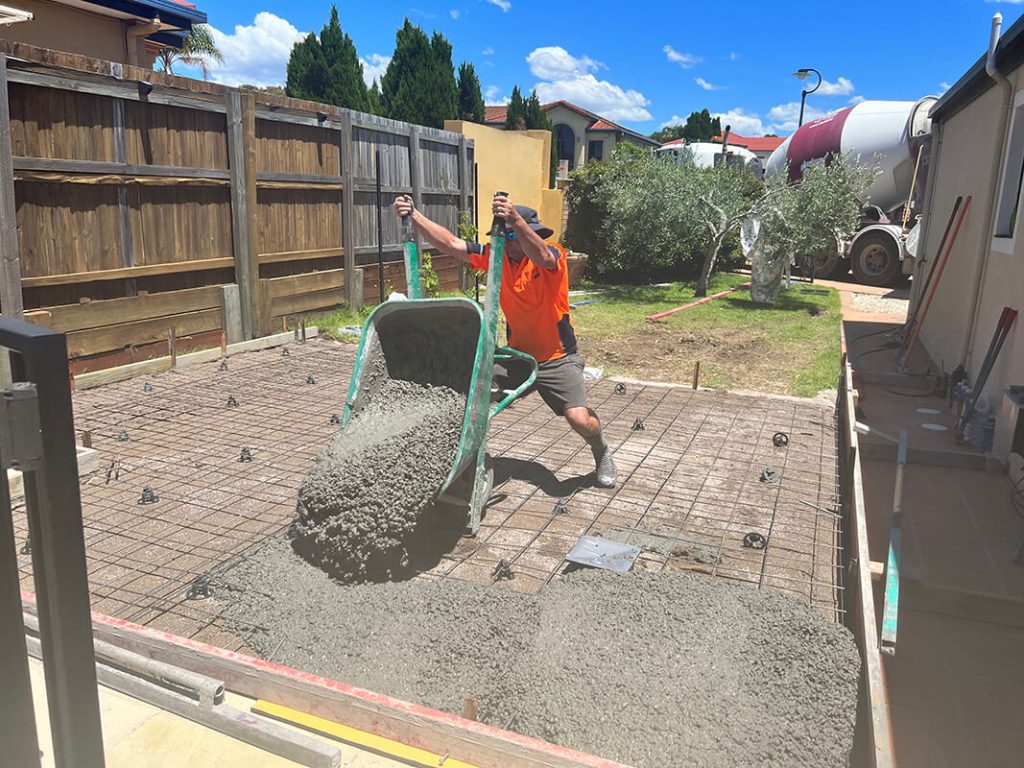
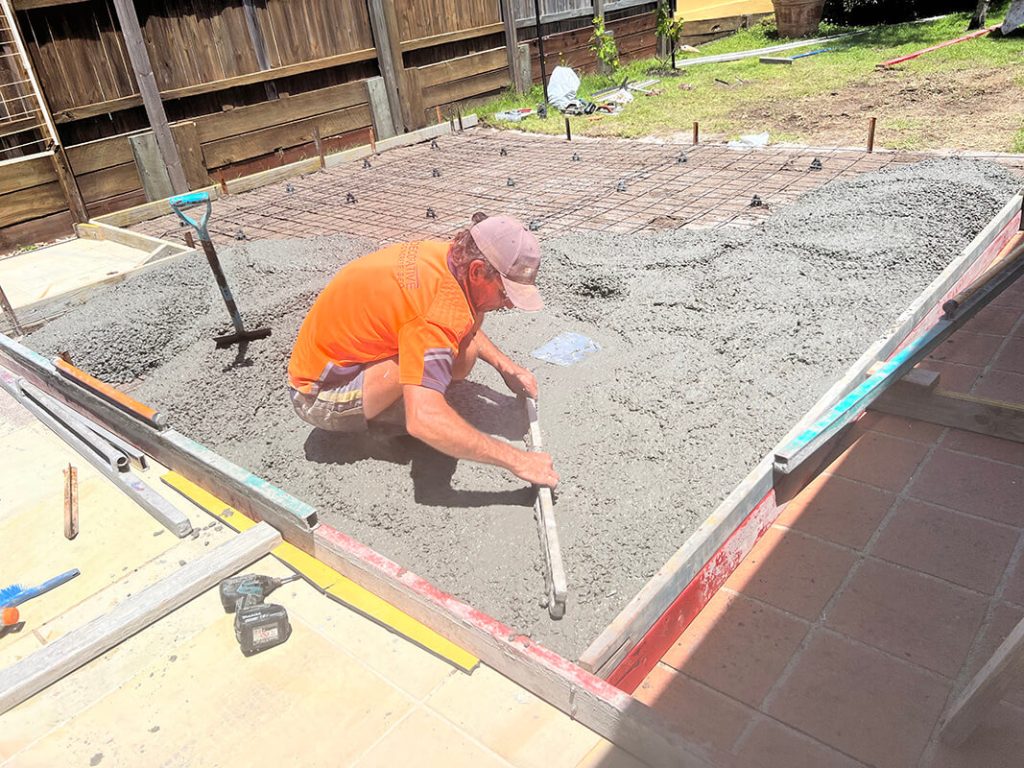
Steel reinforcement should be installed on plastic chairs prior to the concrete being laid.
Step 6
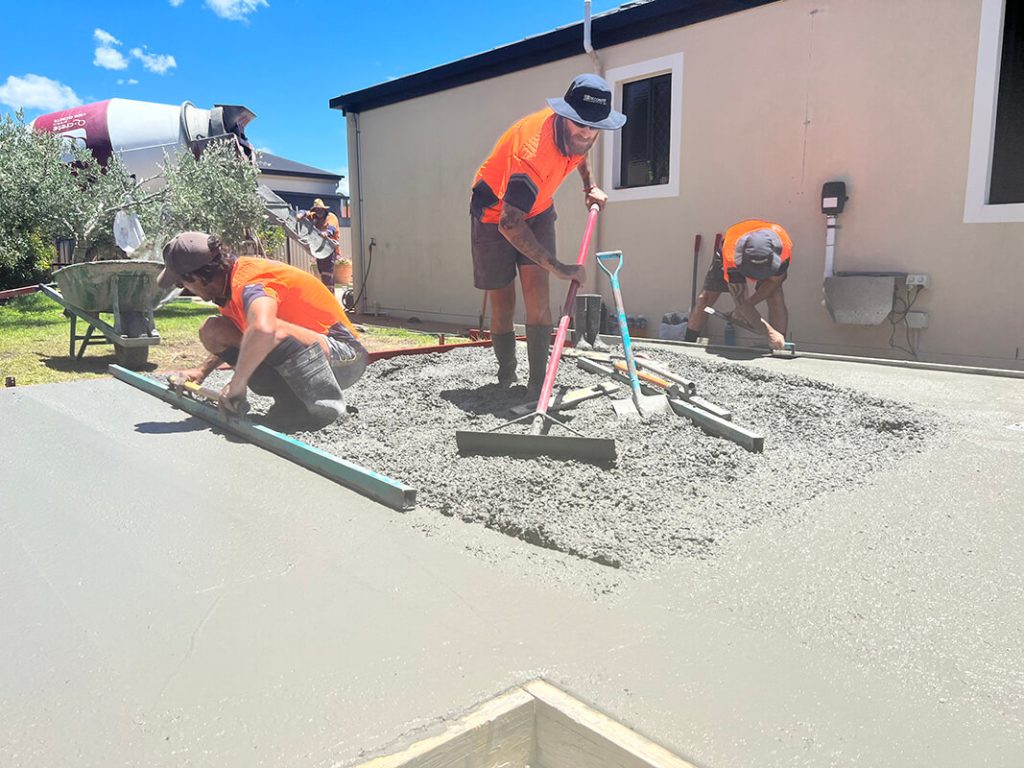
The concrete is then carefully screeded using levels to ensure the correct fall to previously installed drains ensuring no water ponding areas.
Step 7
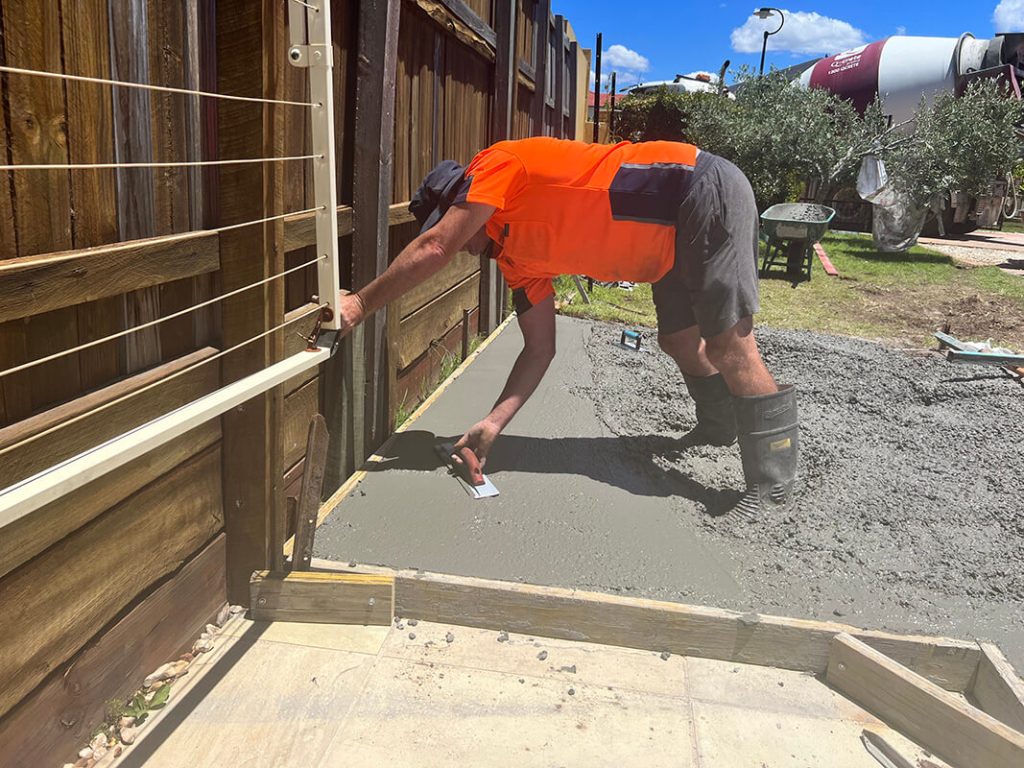
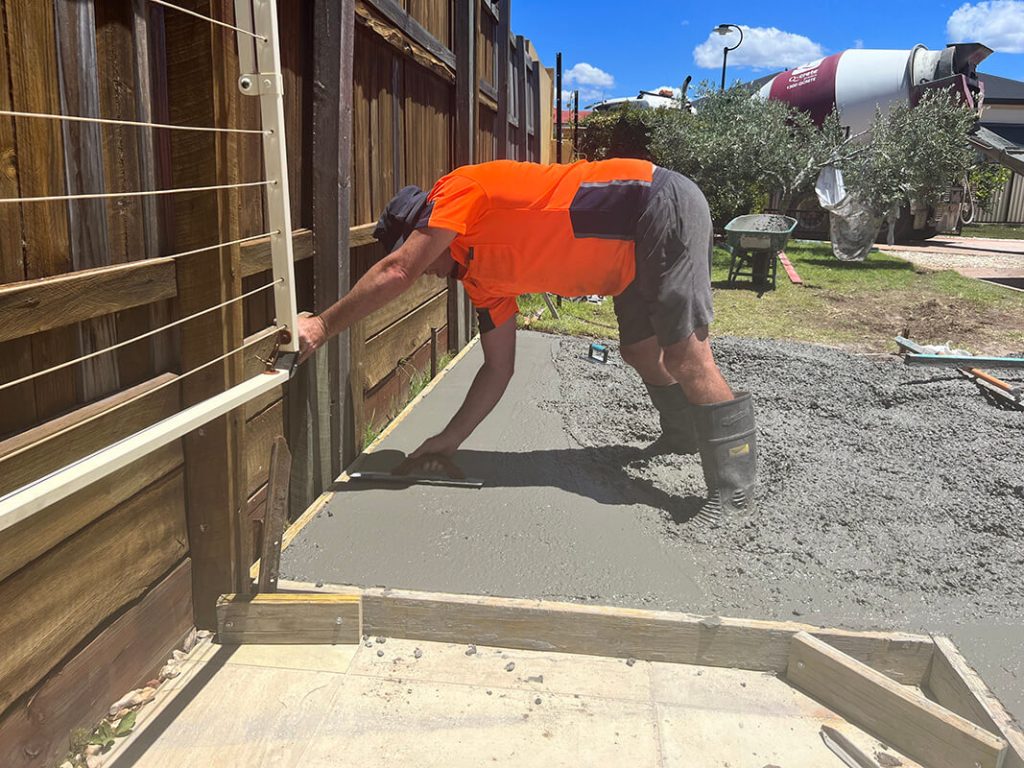
Difficult to access areas are troweled and edged while access is still available during concrete placement.
Step 8
Concrete rakes are used to push concrete behind the screed filling in any holes, it is also used to pull excess concrete away.
Step 9
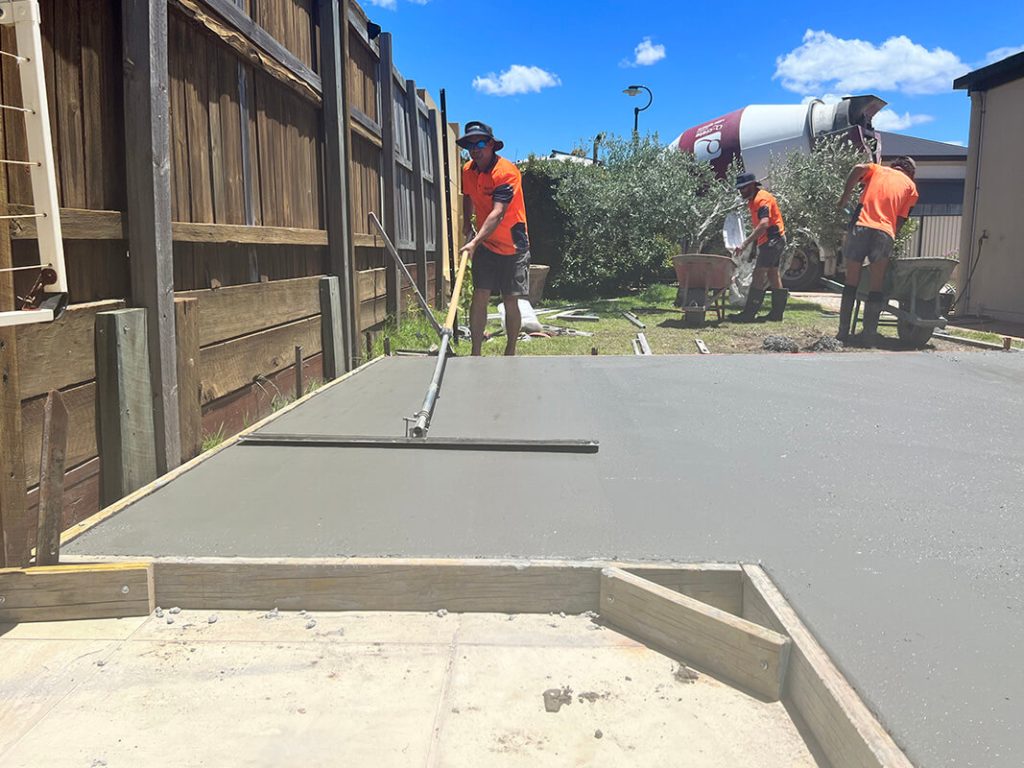
During the concrete placement a bull float is used to smooth off any imperfections that are left by the screed.
Step 10
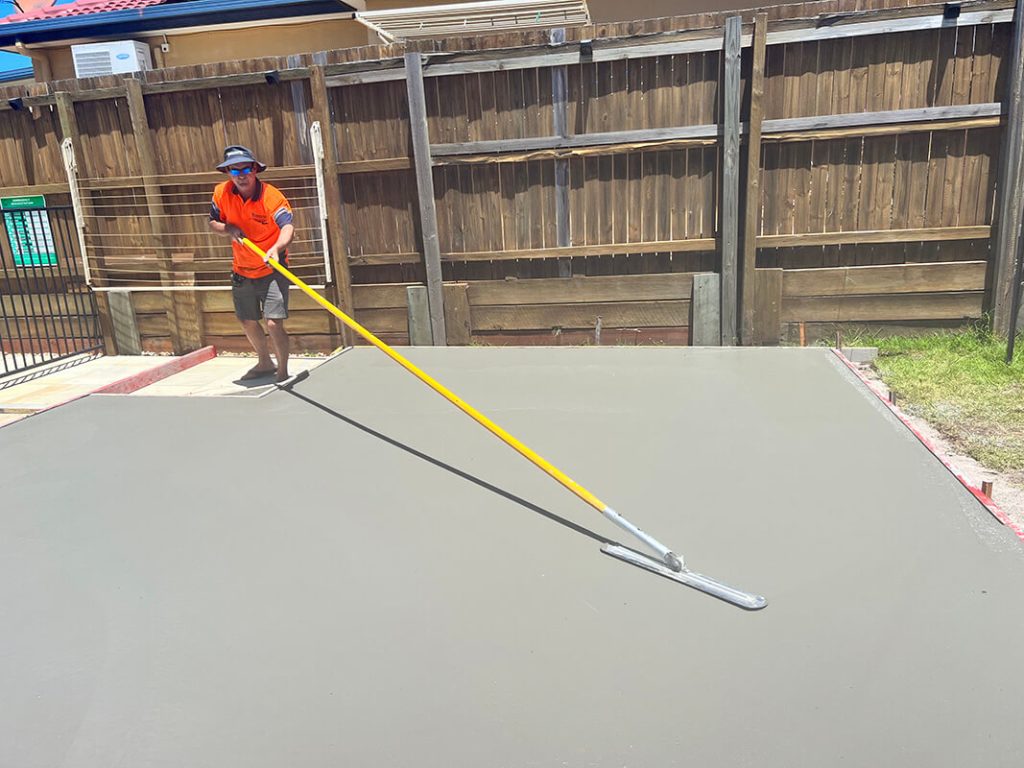
We then use a stick trowel, this tool will smooth out any imperfections left by the ball float.
Step 11
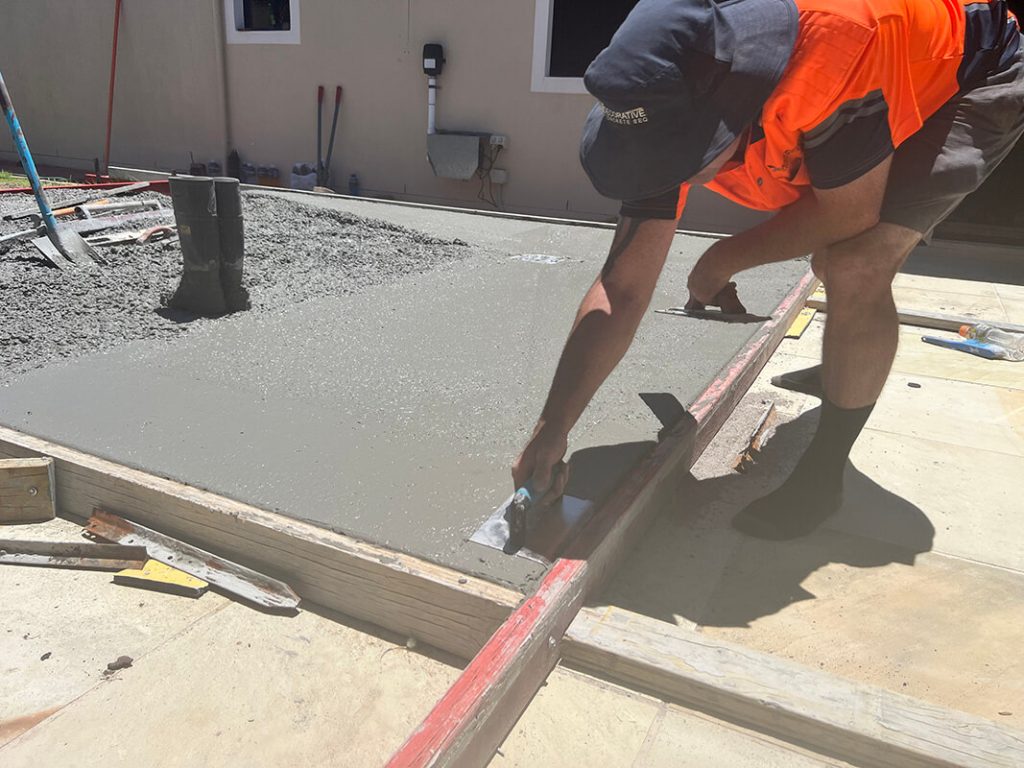
Stick troweling, hand troweling and edging the concrete with a bullnose edger continue whilst the concrete is hardening.
Step 12
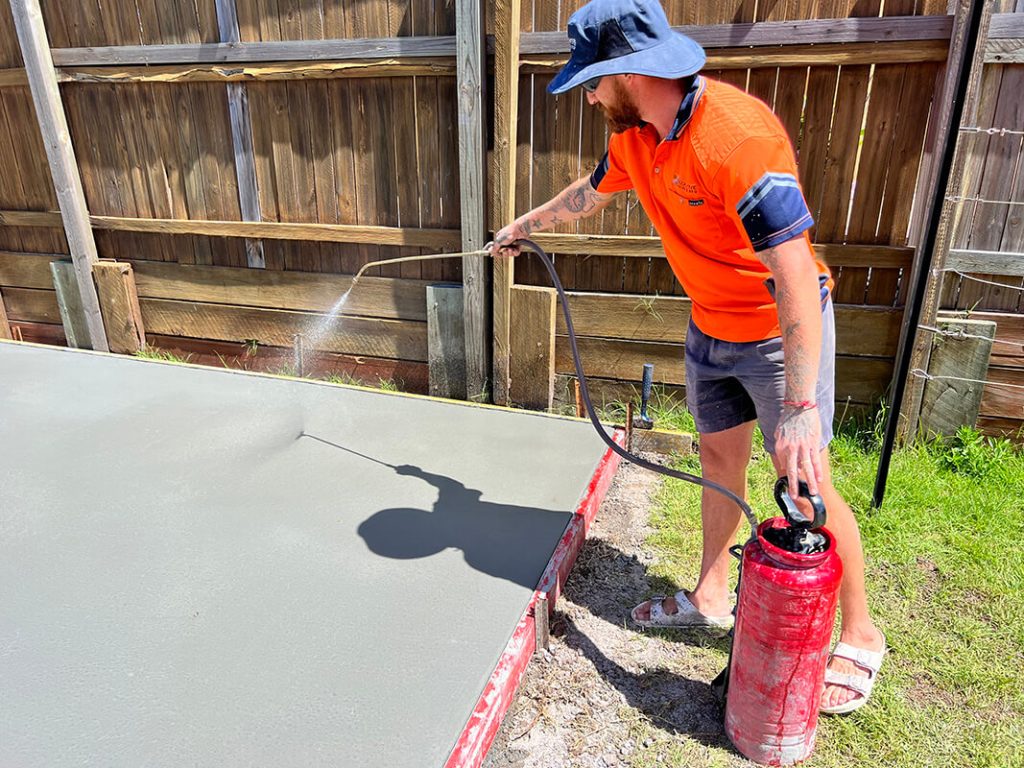
Concrete retarder or simply a mix of sugary water is then sprayed over the surface of the concrete, this will prevent the top surface of the concrete from hardening while the concrete beneath becomes solid.
Step 13
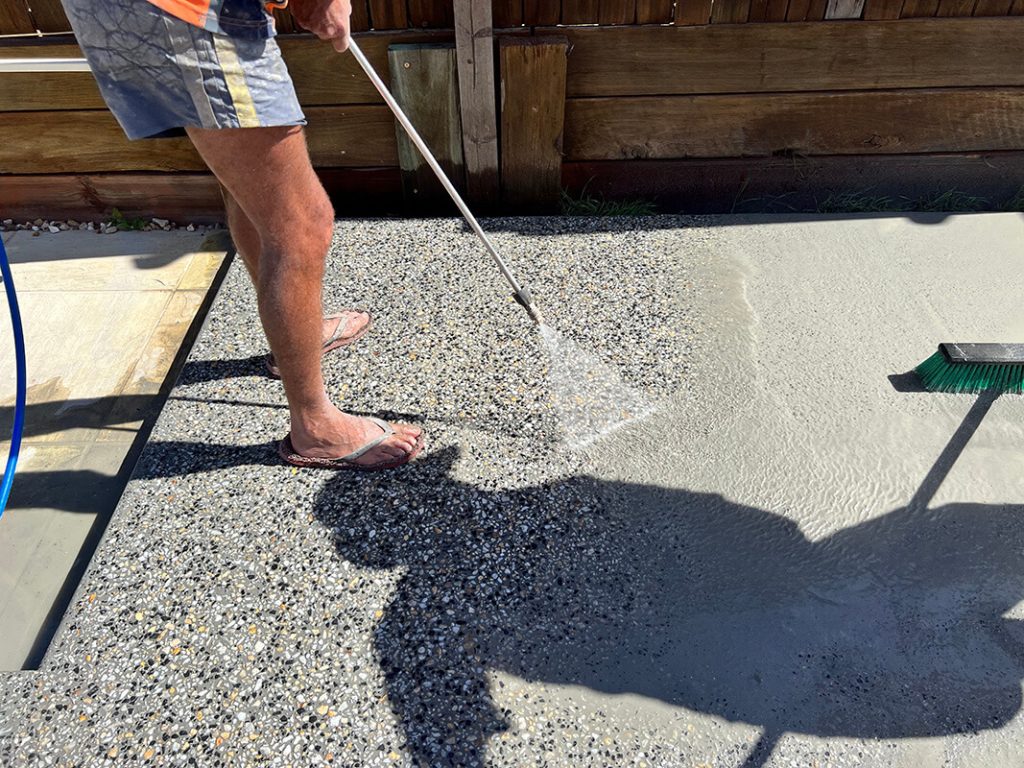
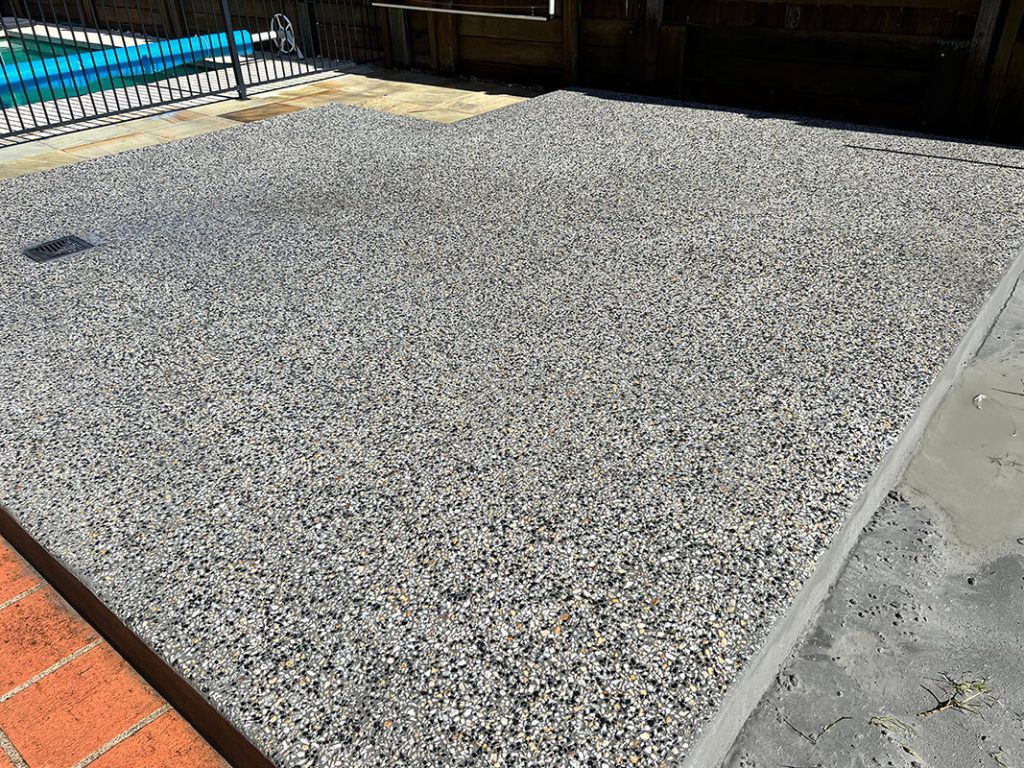
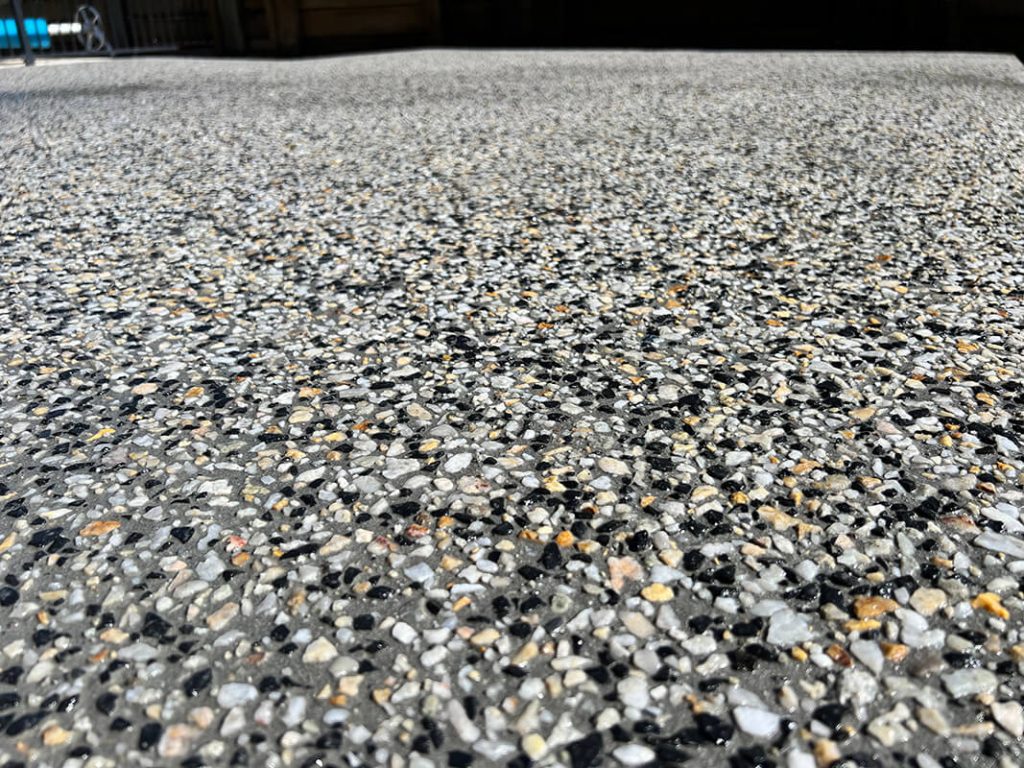
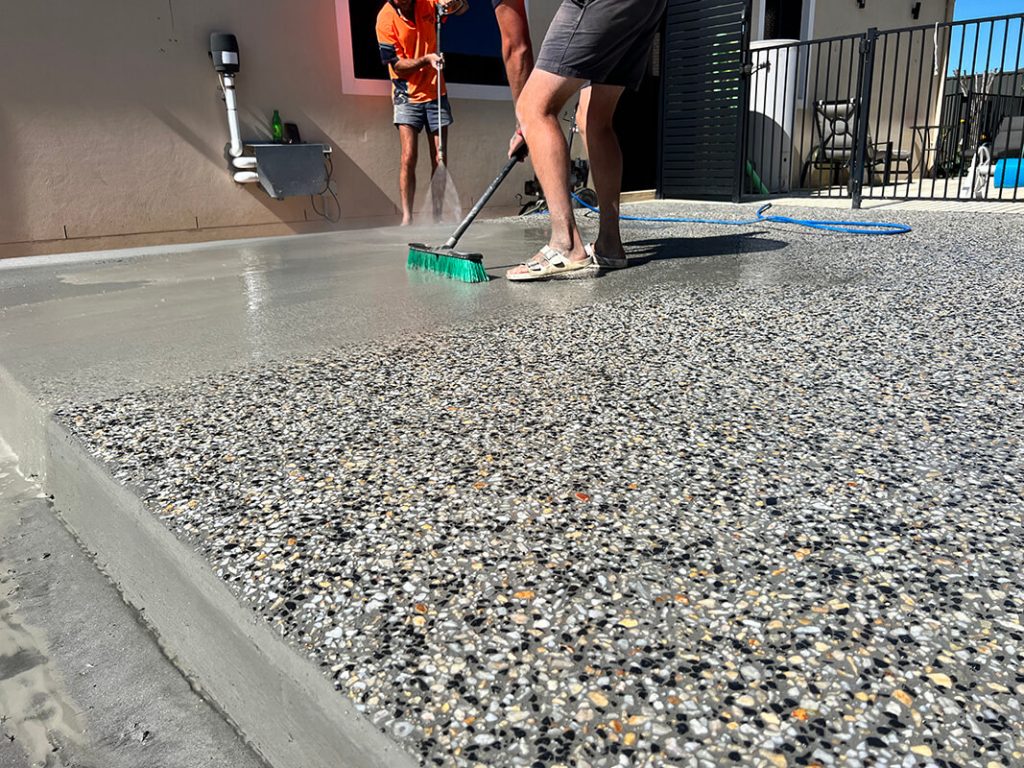
After a period of time the concrete will be hard enough to walk on, due to the sugar being added previously though the very top surface is still soft, at this time we will begin washing the surface of the concrete, revealing the beautiful aggregate beneath.
Step 14
We make use of a pressure washer and a soft broom to gently remove the slurry from the concrete pad.
