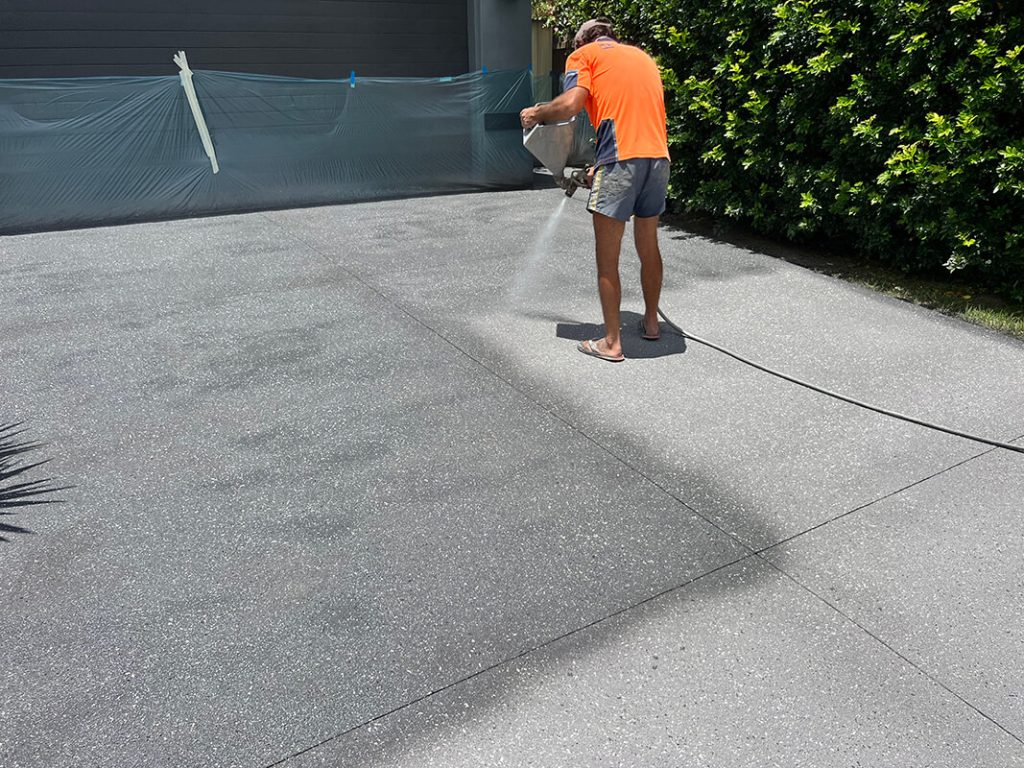
How to resurface an existing concrete driveway
Step 1
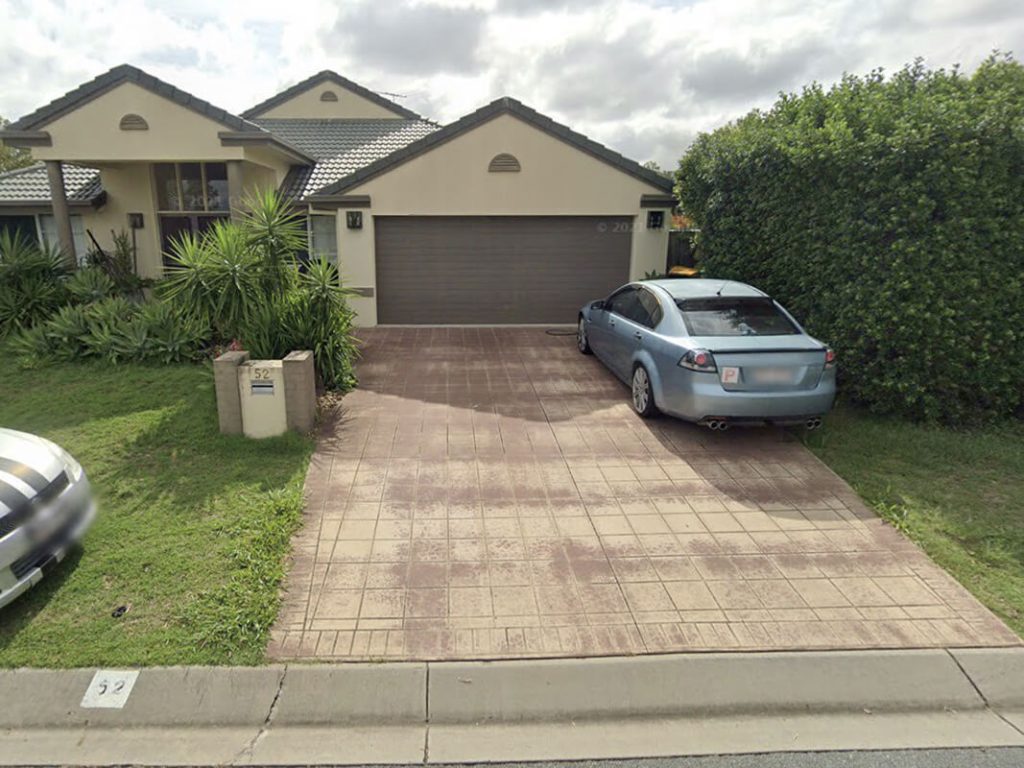
We will usually start out with an old, tired and outdated concrete surface.
Step 2
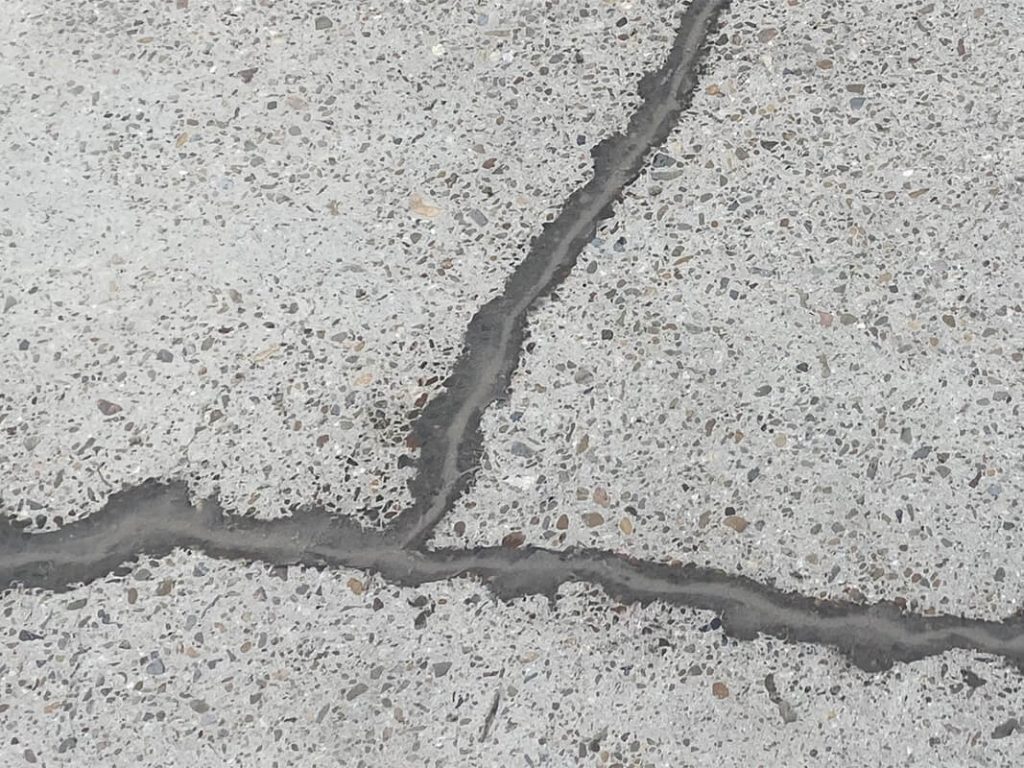
We will firstly power wash the concrete to remove dirt and mould that has built-up over the years. We will also treat any cracks that may need attention, filling them in with a two-part epoxy resin and sand mix.
Step 3
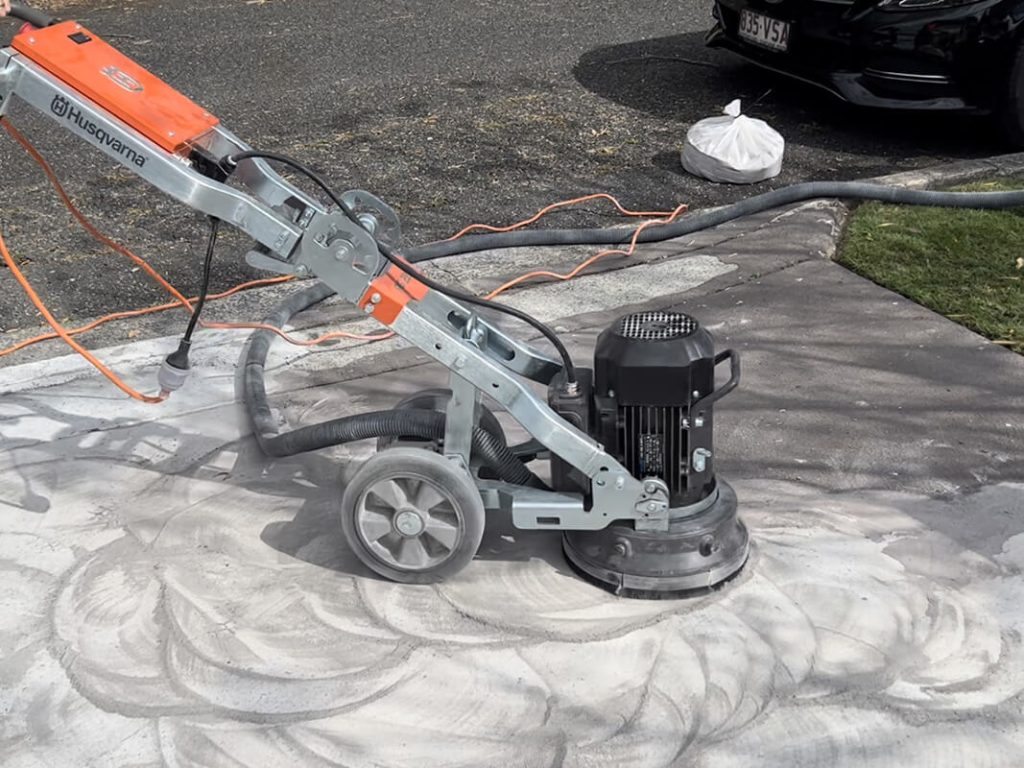
Any concrete sealer that may still be present, usually in shaded areas of the property will need to be ground off allowing for good adhesion directly to the concrete.
Typically before applying any product we will carefully wrap the surrounding areas to protect from overspray.
This particular project had a deep stencil and it was decided to have the stencil skim trowel over instead of grinding it all the way down, this saves on unnecessary cost.
Step 4
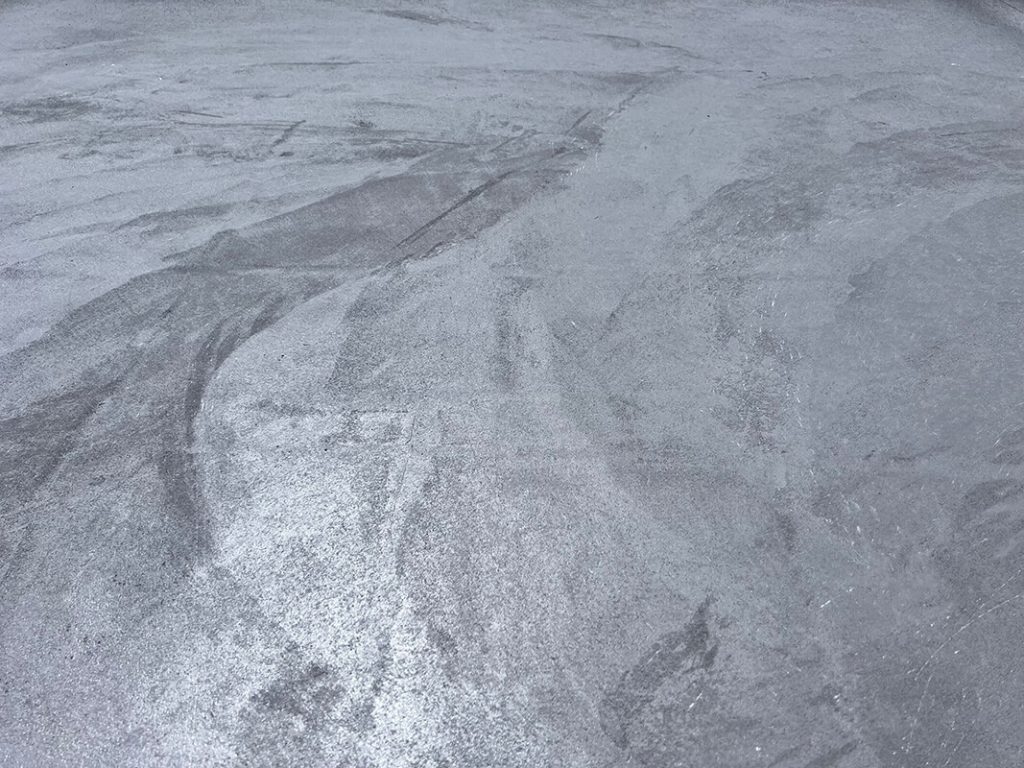
The skim trowel will fill the deep stencil so it becomes flush with the concrete surface giving it a flat smooth finish.
Step 5
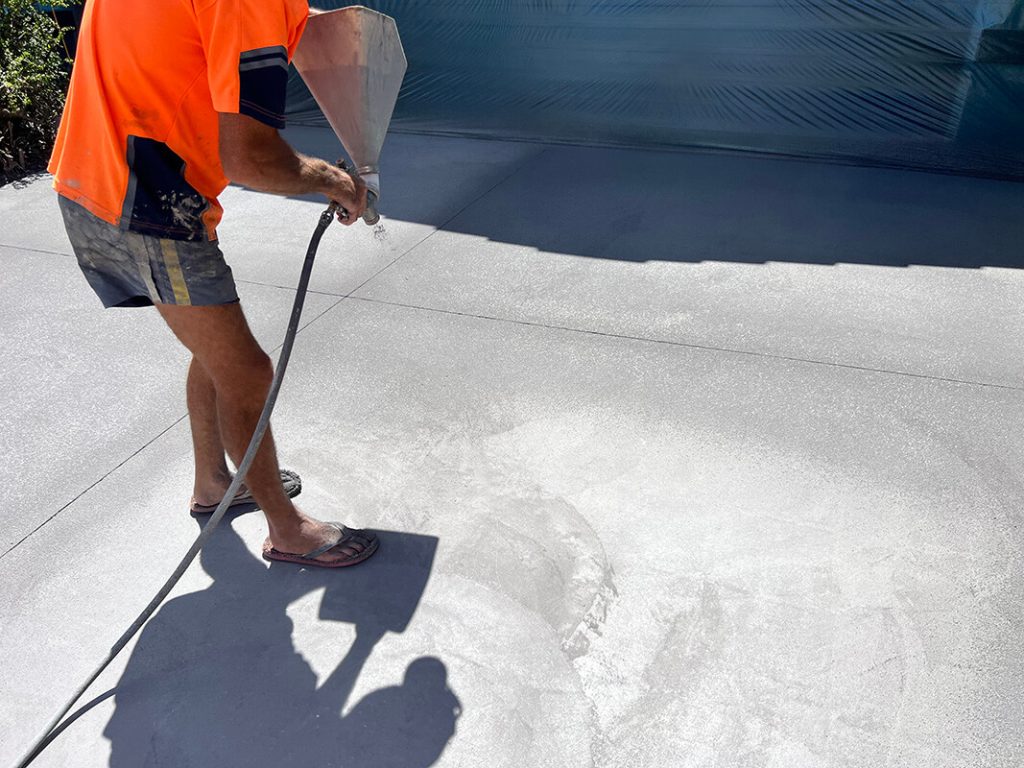
Once the skim trowel has been applied we will then proceed to spray a topcoat or base coat from a hopper gun, this adds an extra layer and a non slip texture.
Step 6
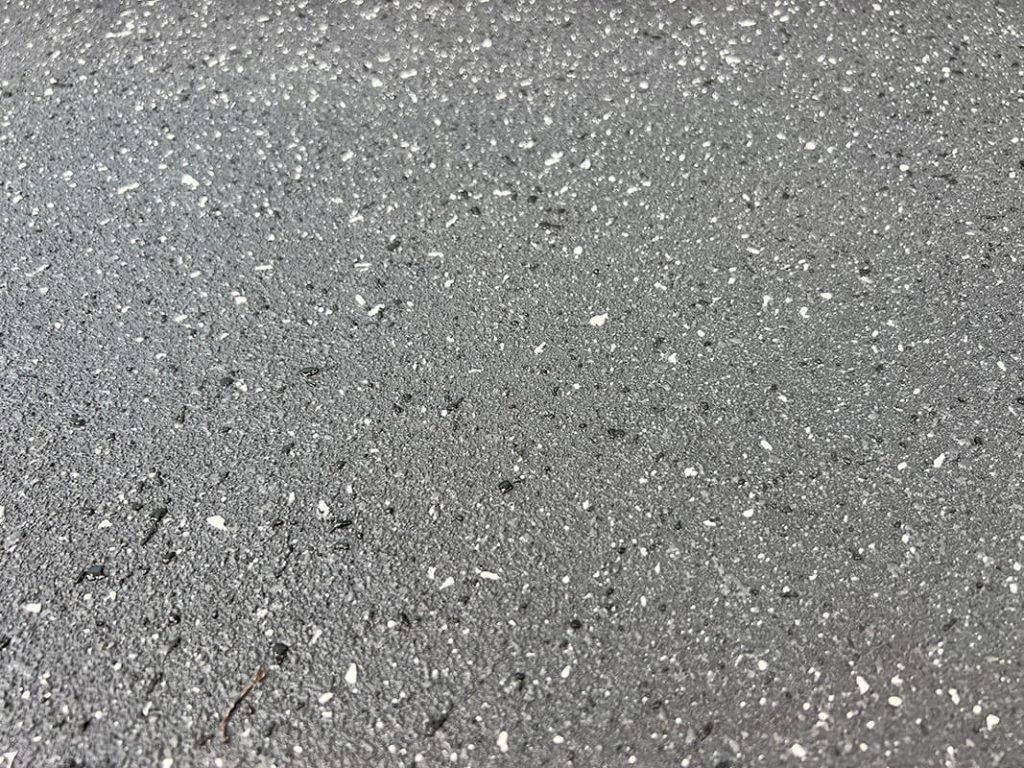
Now come the flecks, this particular client has chosen black and white flecks, flecks are like a speckled feature that is applied over the base coat, this is achieved by turning the compressed air on the hopper gun down so that it disperses the added flecks evenly over the surface.
Step 7
Finally two coats of acrylic sealer are sprayed over all resurfaced areas, this provides protection from weather and general wear and tear.
